Wiring up
Dual Star Heated grips with a Heat Troller for Dummies
First, lets plan this out: with the directions
that come with the Dual Stars and the Heat Troller I can easily
see how people can get confused because Dual Star never bothers
to show you how the grips themselves are wired. I figure that
a lot of folks can follow a simple wiring diagram so stick with
me and you'll be alright.
| Notes:
If you've been refered to this page from Warm
and Safe's web
site, you may wonder why their wiring diagram is showing you
to wire up the red and blue wires and tie off the white
wires
on
the
Dual
Star
heating
elements. Using the red and blue wires creates more heat than using
red and
white
wires
as
I
show below. But it also draws more power to make that extra heat.
I went with red and white wires because my ZX-9R only has a 33 amp
alternator
and I wanted to make certain that my bike's charging system could
keep up with the power draw of the Dual Star heating elements at
idle.
For maximum heat: red and red, blue with blue
and tape off the white wires individually so they cannot short out
to ground or touch each other.
For lower power consumption: red with red, white
with white and tape off the blue wires individually so they cannot
short out to ground or touch each other. |
 |
Notes:
Wire the two red wires coming off of
the Dual Star grips together and wire the two white wires coming
off of the Dual Star grips together so that you end up with two
wires: 1) Red with red. 2) White with white.
You will not wire up the two blue wires
to anything. The heat troller provides the ground circuit. Tape
the blue wires off individually so they ARE NOT connected together
and do not short out.
The diagram can be saved to your HD and
resized if you want to for easier reading. I just mushed it into
this window and made it fit into my table.
|
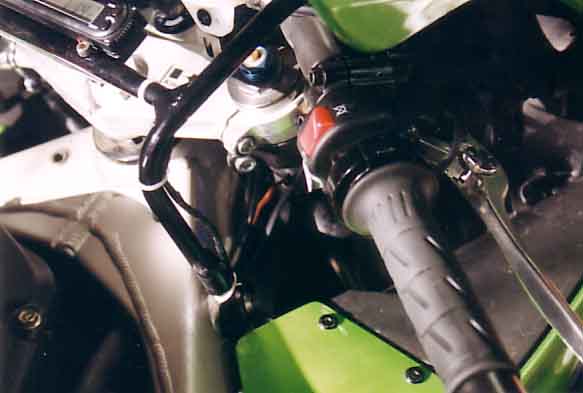 |
The bike you're looking at is my ZX-9R. Your bike
will appear differently. If your bike looks just like my bike,
then you've stolen my bike and I want it back!
This picture shows (but not real well)
how I've got the throttle side wire coming out in such a way
so that it will not get tangled up with the brake lever as you
roll the throttle from closed to wide open.
|
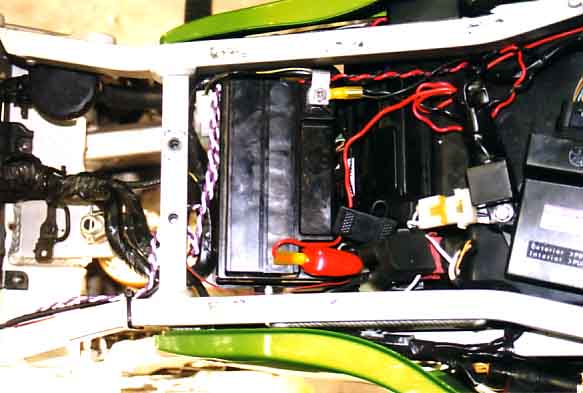 |
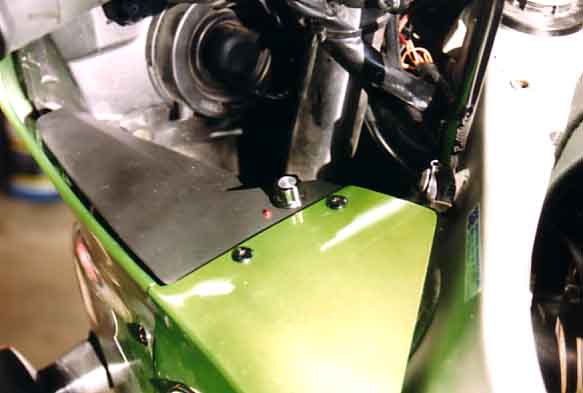
This picture shows the location of my
inline fuse from the positive side of the battery to the relay
as well as my relay's location. It also shows that I located
my two ground wires straight to the battery negative with one
connector.
I left my wires all on the long side
as I've plans to add more electrical stuff and I may need to
extra wire to relocate items. If you do not have like-minded
plans then cut your wires shorter for a cleaner look.
|
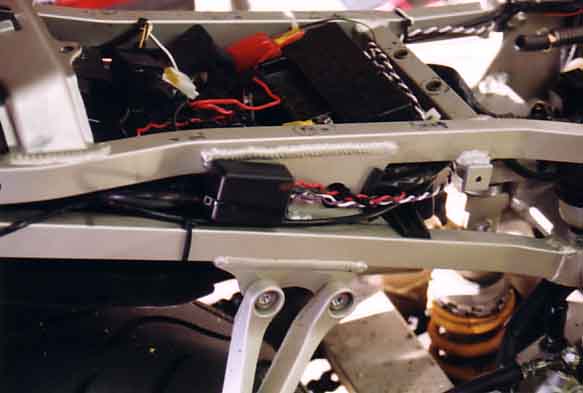 |
This photo shows where I located the
Heat troller itself alongside the right side of the sub-frame.
The Heat Troller is the black box with the purple and white and
red and black wires coming out of it.
Note: When your installing this stuff,
it is best to locate all your parts and then to trim up the wire
to length. This will avoid your using words like, "D'oH!" and
"Son of a..." and the ever popular catch word "Succotash!"
|
 |
This photo shows the location of the
Heat Troller's control. It is mounted on the left side so that
I don't have to take my hand off of the throttle to turn the
heated grips on or off or to adjust the heat. The controller
is also mounted in this spot because I can see it while seated
on my bike rather than having to "feel" around for
the controller.
I took off the vanity panel and then
drilled it. You should do the same. Remember to think before
drilling because like diamonds, a hole is forever.
|
I grabbed switched power for the relay from the positive lead
running to the taillights so if a bulb dies it will not effect
power to the relay (I was too lazy to take a photo so you'll have
to use your imagination). Off/on-sweep is controlled by the remote
Heat Troller whose control and L.E.D. is mounted on the left vanity
panel (in the only place I can see of it while sitting on the
bike).
Wiring from the heating elements follows
the ram air ducts through the frame on the left and right sides
and then follows the inside of the left side of the delta-box
as does the wire feeding the remote that is mounted on the left
vanity panel. The Heat Troller itself is mounted on the right,
outer side of my sub-frame (plastic hides the ugly) and the relay
is mounted securely with a shared bolt that had just been holding
down my ECM that is mounted next to the battery. Zip ties were
used throughout to tighty up things and no warm blooded animals
were harmed during the install although a swarm of bees were attracted
to the smell of hair spay which is what I used to vulcanize my
grips to my handlebars. For bees I recommend a can of Raid and
a fly swat.
As I diagramed, I ran with the white and
red wires on the heating elements which are wired in parallel
and that seems just fine (tonight in 55°F weather, I was running
about 1/3rd of full power and my digits were toasty).
Relay wise,
I got a cheap automotive style relay from Radio Shack myself (you've
seen it before—it's the same cheap one that comes with every driving
light kit you've ever seen). If you want a relay that will not
mess up, get a Bosch car relay from an auto parts store knowing
that it will cost you a bit more for the additional reliability.
When you
get the grips off and are going to sticker on the Dual Star heating
elements think about where your fingers wrap around on the throttle
when it is at a highway cruise speed. It pays off to make sure
that your fingers are all on the heating elements as you cruise
down the road. Additionally, if you've aluminum bars, you'll need
to insolate the heating elements because the bars will be giant
heat sinks. On my bike the Helibars are steel and I just stuck
the elements on without any glue or epoxy because I'm lazy and
it works just fine.
Give yourself
some time to do the install as well because it takes a bit longer
than you'd think--especially so if you get assaulted by a swarm
of bees like I did.
There are some concerns that you can burn
out Heat Trollers with Dual Star heated grips. I assure you that
if you wire in your heated grips as I'm showing you, the power
draw placed upon the Heat Troller is within the Heat Troller's
capacity.
Best regards to all,
Eric Landstrom
Eric's Motorcycling
Do-It-Yourself Page
Return
to the Motorhead Christian page